
I am somewhat addicted to Pinterest. Awhile ago, I saw a picture that I liked. It was a dog portrait, but not in the usual sense. See, it was more of an outline of the breed, with the inside filled in with brightly-colored doodles. I was really attracted to it. Just recently, I saw some similar drawings - black and white - of another dog, one of an elephant, and another of just some doodles.... I pinned them onto my Ideas board - and then it struck me. I bet I could make one. It looked like the artist just needed a good outline of the subject, with maybe a couple of 'big-space' details to give it some body. So, I decided to try it out.


First, I bought some 'art' paper and fine-point sharpies. Once upon a time, I actually knew a little about paper and markers, but it's been awhile...so I looked for the smoothest, whitest paper I could find (at Walmart...), then I read labels and found this. It says mixed media, including wet media so I thought it would probably do. I wish I had more colors in the sharpies, but I didn't want to spend an arm and a leg - so I settled for the pack of 24 colors.

Then I printed off a picture I had taken a few years ago. I do love roosters.... I've actually done a couple of these now. The first time, I printed the picture in black and white so I could see the patterns without being distracted by the colors. This time I printed it in color so I could refer to it as I 'doodled'. Truthfully, they both had their up and down sides - so I guess you just use your personal preference.

Next, I used this old-school transfer method (literally old school - I think I learned it when I was in elementary school...). You use the side of your pencil point to 'color' the back of the picture you want to transfer. I didn't feel like coloring the whole page, so I just checked back and forth to see that I was getting the rooster part.

Then I placed my back-colored photo on my fancy 'art' paper. I don't like centered pictures, so it's a little off-center. I did want to make sure I had the whole rooster on the page.
Next, I traced over the lines that I wanted to transfer. Mostly I needed outlines and block-y shapes.

You can pull the paper up every once in awhile to check that you're getting the lines you want...

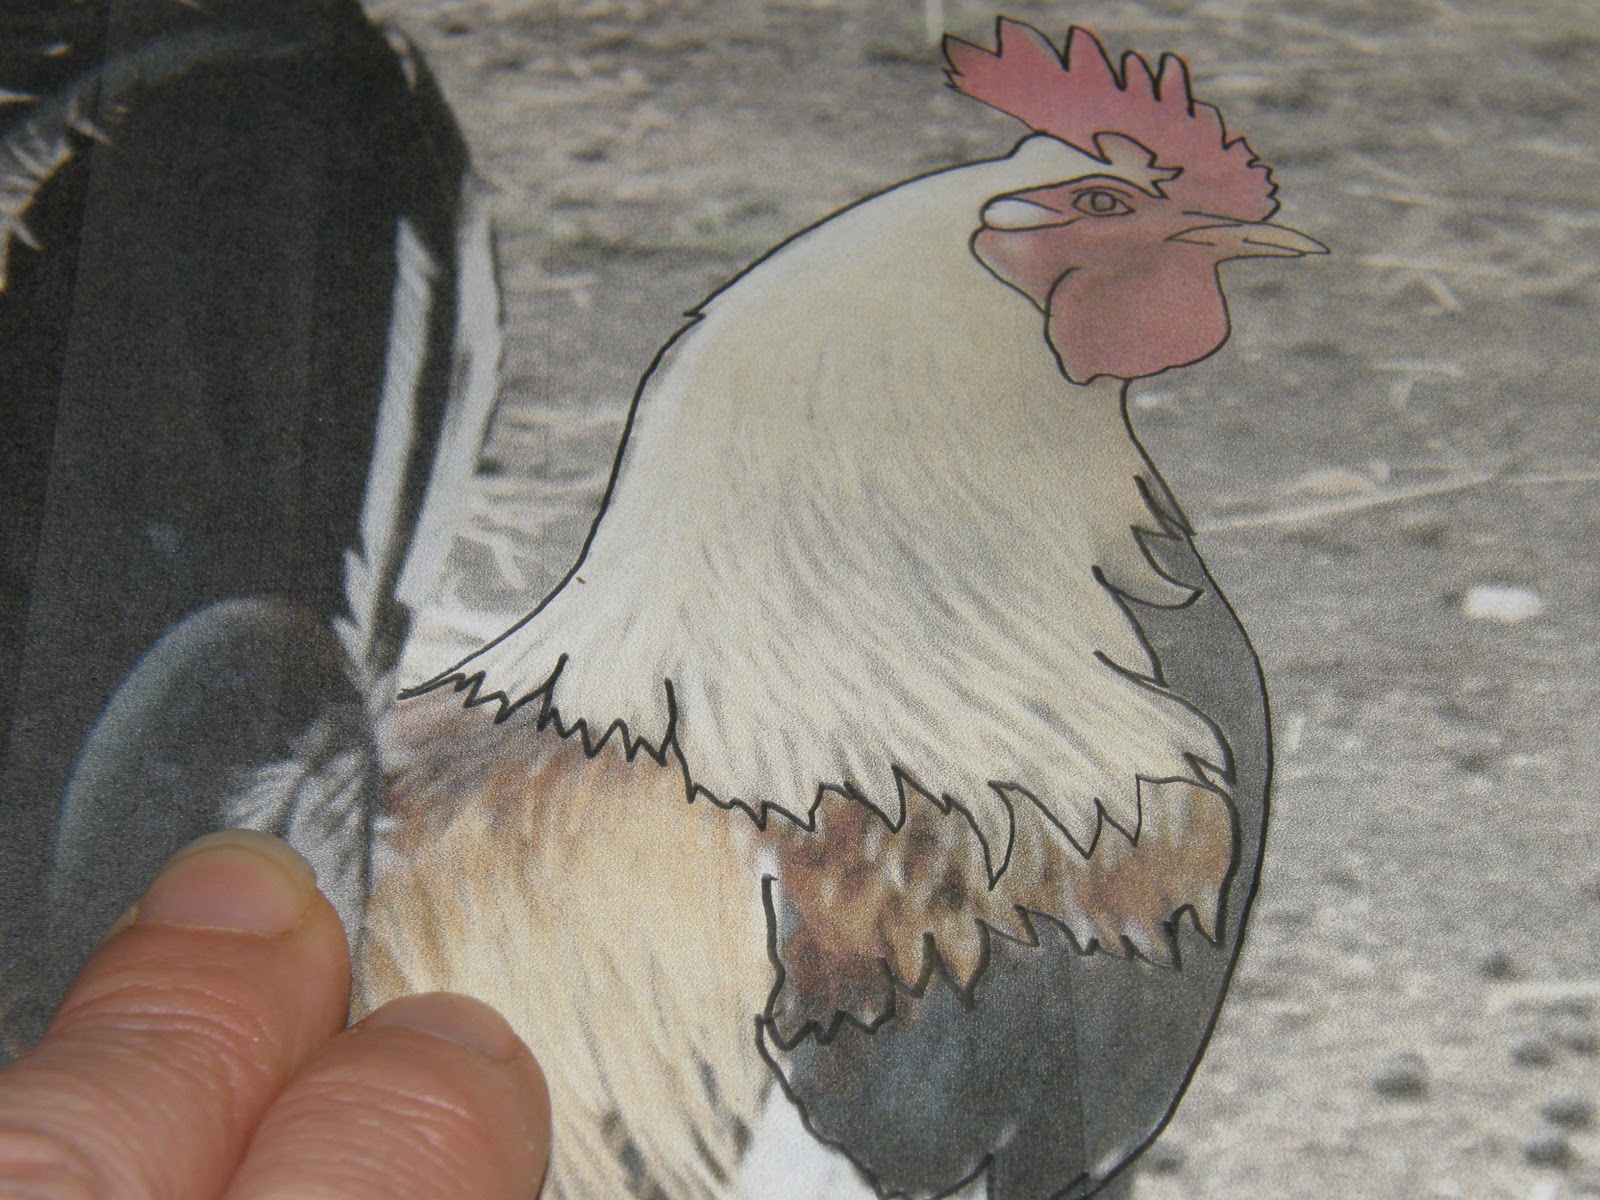
Here's a photo of the finished transfer.

After transferring - I used the fine-tip black sharpie to draw the lines I really wanted. Use an
eraser to erase any of the transfer lines you don't go over. You can also add your own lines if you think you need to re-shape anything. I really didn't make a lot of changes on this one.

Next - start doodling in the shapes. I suppose you could color big blocks first and black-line doodle on top - but I wanted the doodle-lines to define some of my colors. It was fun. Some of the doodles look like stylized portions of the original - like swooping feathers...some just fill the space - like checkerboards and diamonds....

I really enjoyed this part. I remember covering the backsides of all my spiral notebooks in junior high and high school with doodles like this - just three colors - black, blue, and red....

Next comes the color. I like the saturated colors from the sharpies, but have started to think that more dimension could be added by using colored pencils.... Maybe next time. As you can see, you can color adjacent spaces with the same color - it works...

More color - one of the nice things about the sharpies is that if you choose a color that you really don't like - you can pretty much go over it with a darker color and it will disappear...

All colored....

I like to finish the picture with a title - and more doodles around the edges. Just me....
No comments:
Post a Comment
I know we probably haven't met in person, but I believe that the sharing of our ideas and thoughts, sometimes our hearts and souls, makes us more than strangers. I would like to say friends. Thank you for taking the time to contribute to my little space - I appreciate you.